
How to Make an Image Background Transparent
Understand transparent backgrounds, why PNG is usually required, and how to create a transparent PNG online without complicated editing software.
By Remove.Services Editorial
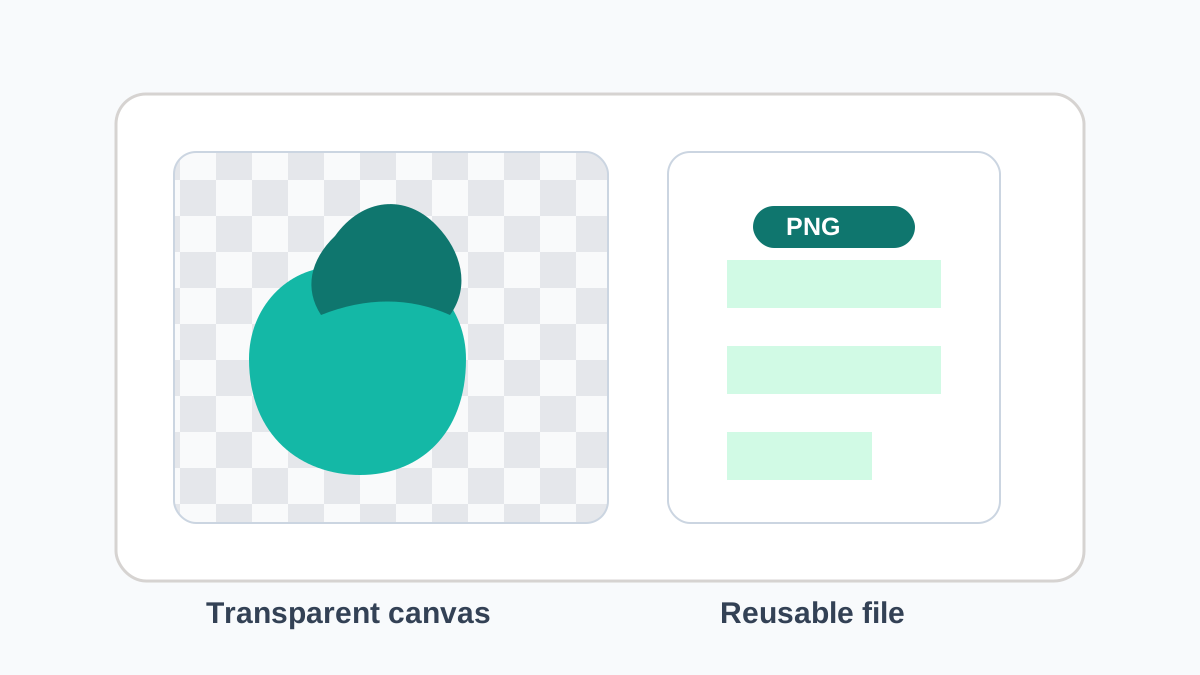
A transparent background means the empty area around your subject is not filled with a visible color. Instead of a white, black, or gray rectangle behind the object, the background area is invisible and can adapt to whatever design, page, or slide you place it on.
This is especially useful for logos, product photos, profile graphics, stickers, thumbnails, and design assets. A transparent PNG can sit naturally on a website, ad creative, marketplace listing, or presentation without looking like a pasted rectangle.
Transparent background vs white background
A white background is still a background. It can look clean, and many ecommerce marketplaces prefer it, but it is not transparent. If you place a white-background JPG on a colored design, the white box remains visible.
A transparent background removes that box. The subject can be layered on top of other backgrounds, resized, or used in multiple designs without repeating the editing work.
Why PNG is usually the right format
The file format matters. JPG is common for photos, but it does not support transparency. If you save a transparent image as JPG, the transparent area will usually become white or another flat color.
- Use PNG when you need transparency.
- Use JPG for ordinary photos without transparent areas.
- Use WebP when your workflow supports it and you want modern web compression.
- Check marketplace upload rules before choosing your final export format.
How to make an image background transparent online
- Choose an image where the subject is clear and not heavily cropped.
- Upload the file to Remove.Services.
- Wait for the background remover to create the cutout.
- Review the edges around hair, fabric, glass, or small product details.
- Download the result as a transparent PNG.
If your final design uses a dark background, test the transparent PNG on a dark color before publishing. Tiny light edges that are hard to notice on white can become visible on darker layouts.
Common export mistakes
The most common mistake is exporting the final image as JPG after making the background transparent. Another common issue is placing a transparent PNG inside a design tool and then exporting the full design with a white canvas. The PNG itself may be transparent, but the final exported artwork may not be.
- Do not convert the final cutout to JPG if you need transparency.
- Look for a checkerboard preview when checking transparency.
- Open the file on a colored background to confirm the empty area is invisible.
- Keep a copy of the transparent PNG before making design-specific versions.
How to confirm transparency worked
A checkerboard pattern usually means the background is transparent in image editing tools. In a browser or design canvas, place the image over a colored block. If only the subject appears and no rectangle surrounds it, the transparent background is working.
You can use Remove.Services to make image background transparent and download a transparent PNG for your next product photo, social post, or design asset.
Remove Your Image Background in Seconds
Upload an image and create a clean, transparent background with Remove.Services.
Try Background Remover