
How to Remove the Background from an Image Online
Learn how to remove the background from an image online, check the edges, and export a transparent PNG for products, profiles, and social posts.
By Remove.Services Editorial
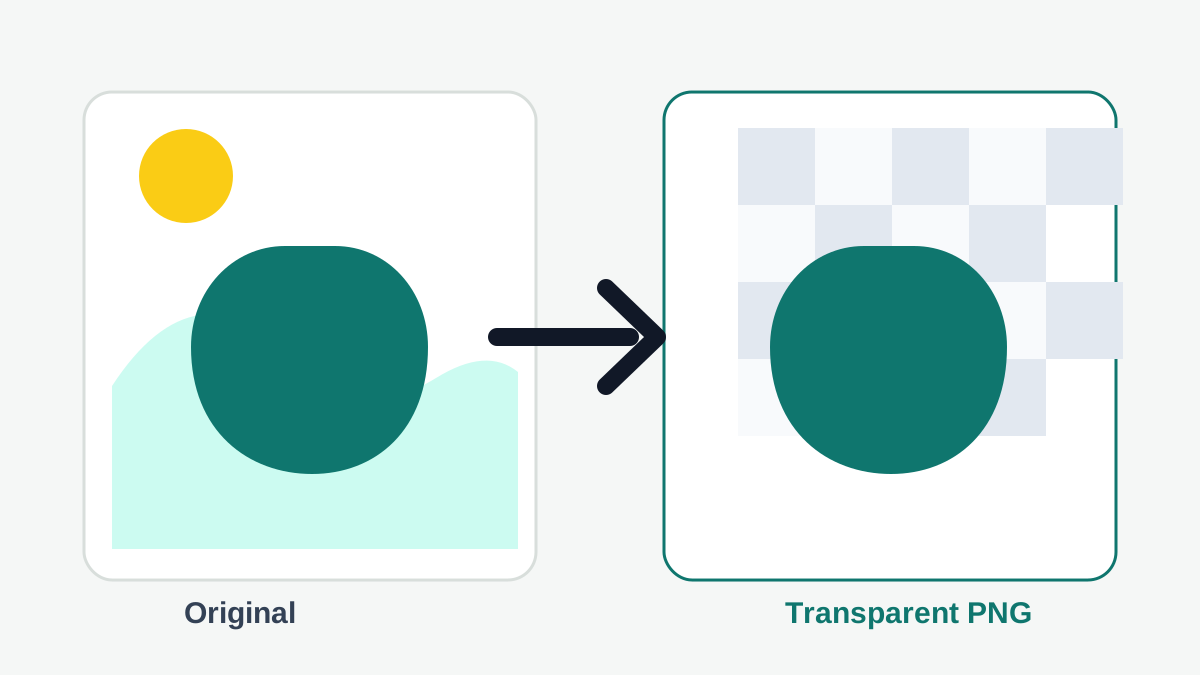
Removing the background from an image is one of the fastest ways to make a photo easier to reuse. A clean cutout can be placed on a product page, a social post, a profile graphic, a marketplace listing, or a design mockup without carrying the original room, desk, shadow, or wall behind it.
Online background remover tools are useful because they handle the careful selection work for you. Instead of tracing the subject by hand, you upload an image, let the tool detect the main object, and download a transparent image that is ready for the next step.
When background removal is useful
A background can distract from the real subject. This matters most when the image needs to communicate quickly, such as a product thumbnail or a profile picture. Removing the background helps the viewer focus on the item, person, or object instead of the surrounding scene.
- Product photos for ecommerce listings and ads
- Profile pictures for social media or business pages
- Marketing graphics where the subject needs to sit on a new design
- Presentation images that need a clean transparent edge
- Marketplace photos that need a consistent visual style
Step 1: Choose a clear source image
The best results start with a clear photo. Use an image where the subject is in focus and not hidden behind other objects. Strong contrast between the subject and background can also help the tool detect the edges more accurately.
If you are preparing a product photo, avoid heavy blur, reflections, or cropped edges. If part of the product is missing in the original photo, a background remover cannot restore that missing detail.
Step 2: Upload the image
Open Remove.Services and upload a JPG, PNG, or WebP image. The tool sends the image for background removal and returns a transparent PNG result when processing is complete.
- Go to the Image Background Remover tool.
- Select an image from your device.
- Wait for the background removal result.
- Preview the transparent output before using it in your final design.
Step 3: Check the edges
After processing, look closely at the subject edges. Hair, glass, shadows, soft fabric, and reflective objects can be more complex than solid items. Zoom in if needed and check whether any unwanted background remains.
For ecommerce images, pay special attention to the product outline. A clean edge makes the final photo look more professional and helps the product stand out on white, transparent, or branded backgrounds.
Step 4: Export a transparent PNG
A transparent PNG keeps the subject and removes the background area. This is usually the best export format when you want to place the image on a new background later. JPG does not support transparency, so saving as JPG would normally replace transparent areas with a flat color.
Common questions
Can every image become transparent?
Most common product and portrait images can be processed, but results depend on the original image. Complex edges, motion blur, and low resolution can reduce quality.
Should I use white or transparent backgrounds?
Use transparent PNG when you want flexibility. Use white background when a marketplace or product feed specifically requires it. You can start with a transparent cutout and place it on white afterward.
Try it on your next image
If you need to remove background from image files quickly, try the Remove.Services online background remover. Upload your image, create a transparent image, and download the result in seconds.
Remove Your Image Background in Seconds
Upload an image and create a clean, transparent background with Remove.Services.
Try Background Remover